Step 1
Download Stark VPN
Creating your own config starts with having the latest version of the Stark VPN app installed.
Stark VPN Reloaded
Available on Google Play Store
Step 2
Generate an SNI Bug Host
To create a working SSL config, you need a Server Name Indication (SNI) that corresponds to a free host or zero-rated site on your network.
1Go to an SNI generator
Visit snihost.com/sni-generator
2Find your host
Search for your country and specific mobile network, then copy one of the generated SNIs.
✔ You will inject this exact SNI inside Stark VPN.
Step 3
Configure Stark VPN
Now that you have your app and SNI, let's set it up using the Custom Settings.
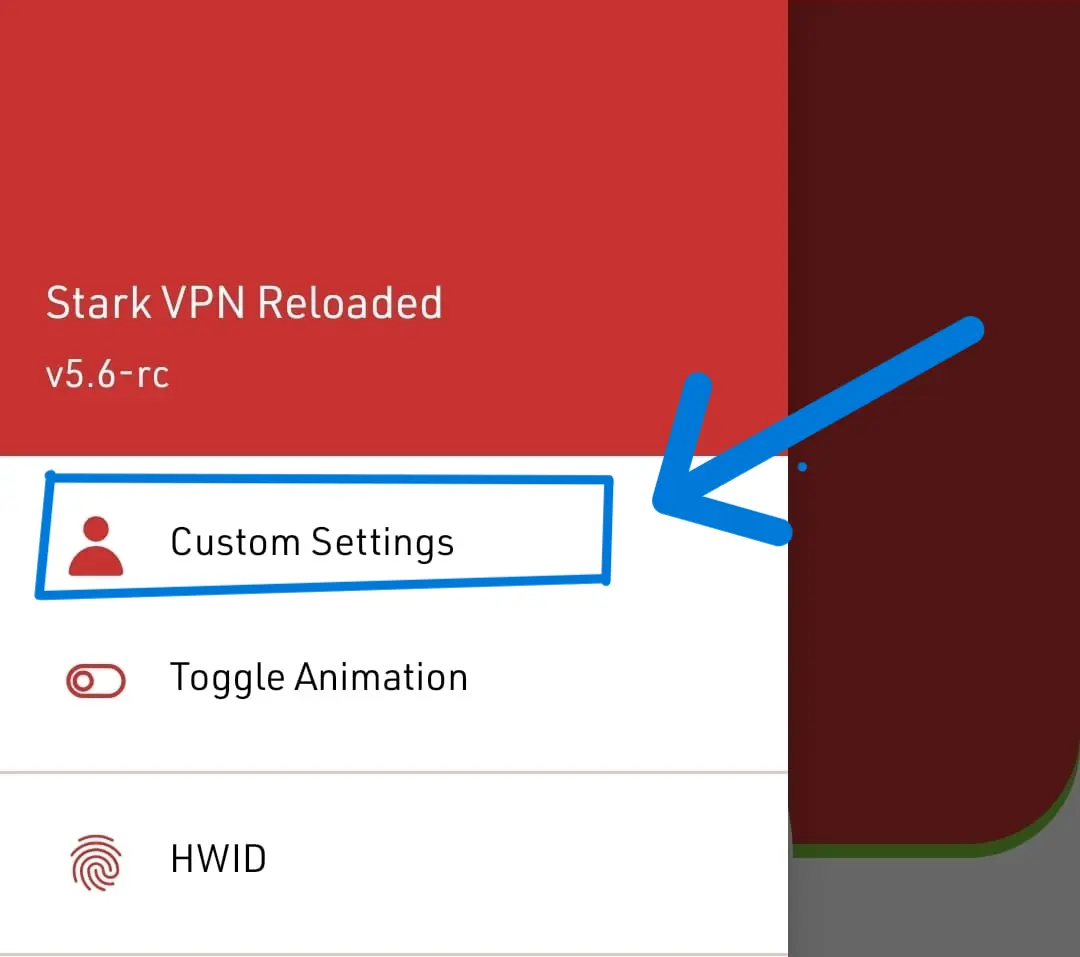
Open Custom Settings
- Open Stark VPN
- Click the top-left navigation menu (☰)
- Select Custom Settings

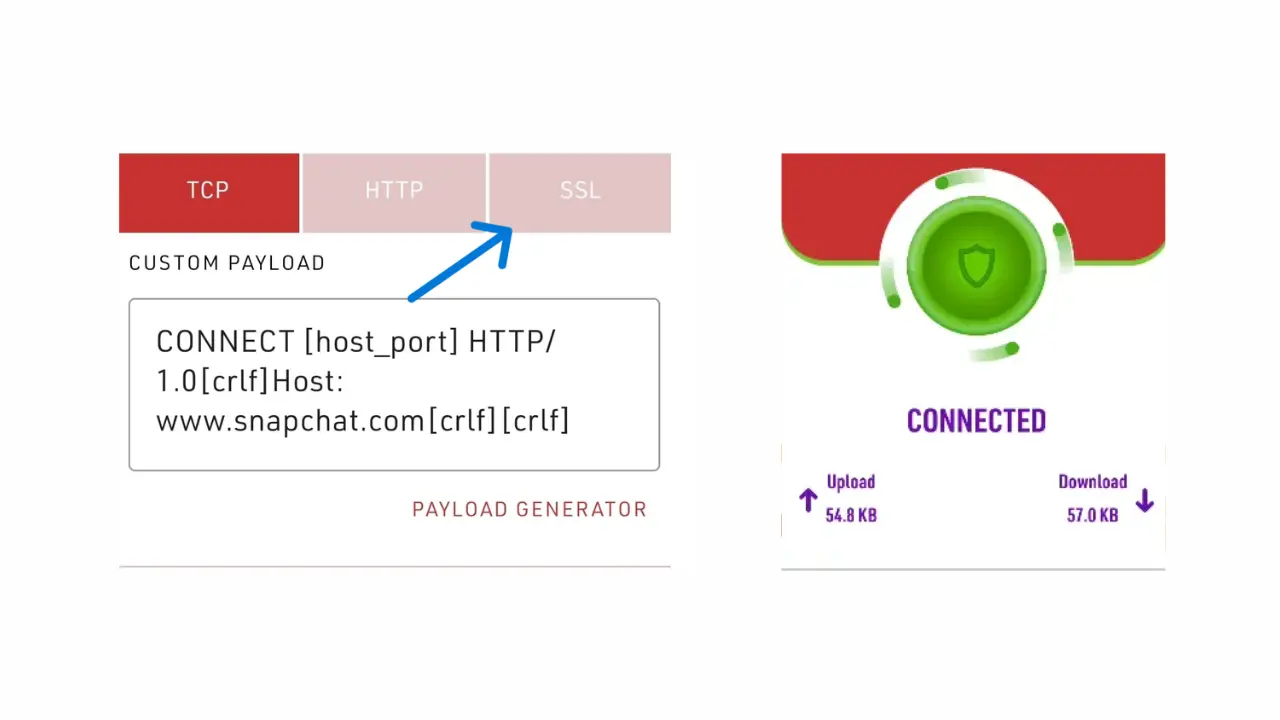
Choose Connection Method
Inside Custom Settings, you'll see various connection options. The SSL method uses the SNI Bug Host directly, making it the most stable method for this kind of setup.
TCP → Uses payload
HTTP → Uses custom host
SSL → Uses SNI Bug Host ✅

Configure SNI and Mode
Update the settings to match your bug host:
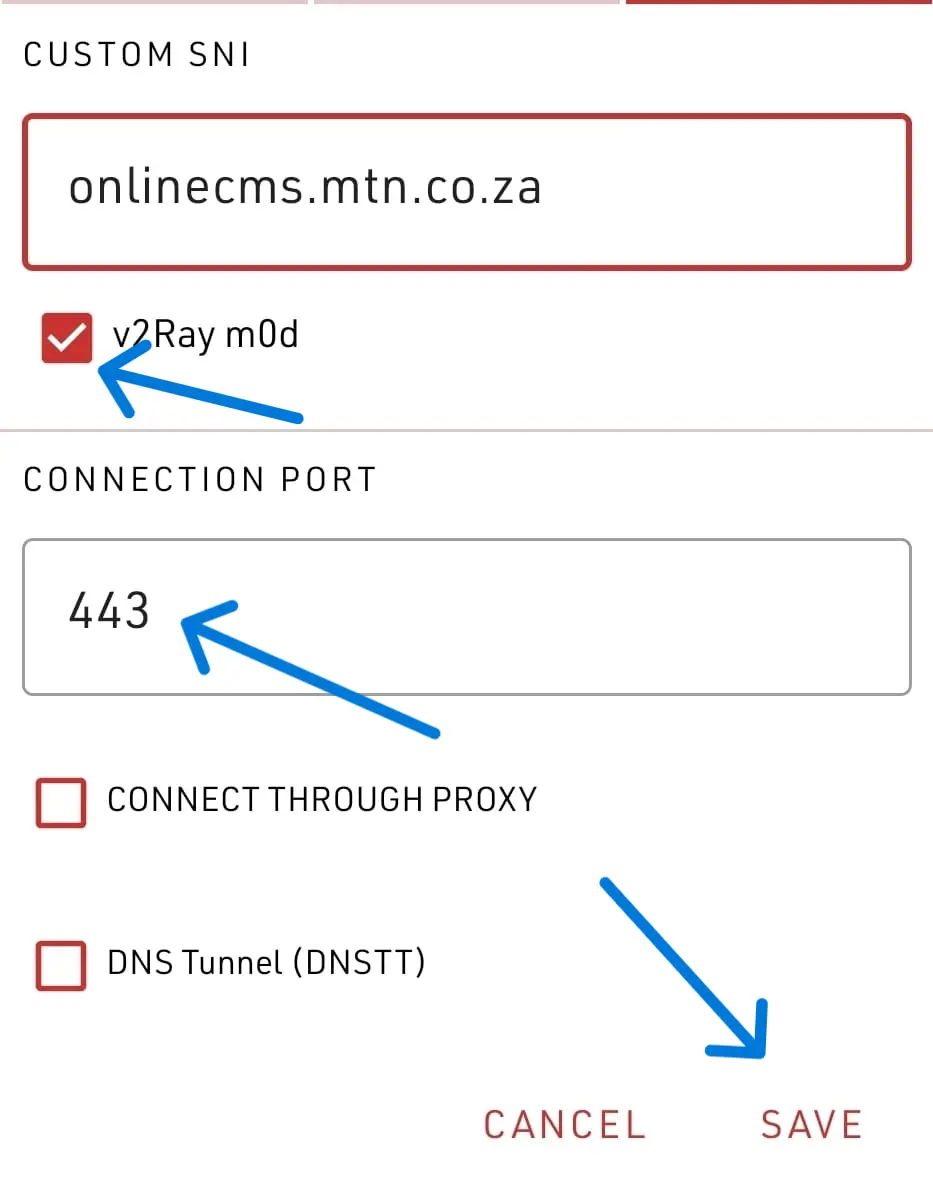
Click Save: Your config is now ready for testing.
Step 4
Start the Connection
Before hitting connect, you need to apply the custom settings you just created.
1. Under the "TWEAK" menu on the home screen, select Custom Settings.
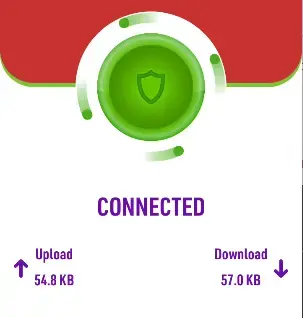
2. Tap the large Power Icon to connect.
If your selected SNI is working and zero-rated on your network, you will connect successfully.
Step 5
Browse the Internet
Once connected, gently minimize the app. Do NOT close it completely!
You can now browse websites, use social media, stream videos, and download files using your free internet connection.
Step 6
Export Config File
Once you have a working setup, you should save it as a config file so you can easily load it later, or share it with others.
1. Open the app menu
2. Tap Export Settings
3. Give your config a name, optional description, and save.
✔ You can now share or upload your `.stk` file!